
Master the Art of Engine Bay Cleaning: A Step-by-Step Tutorial
- WebMaster

- Sep 7, 2023
- 6 min read
Updated: Apr 21
Are you tired of a dirty and grimy engine bay? Would you like to learn how to clean it like a pro? Look no further! In this step-by-step tutorial, we will show you how to master the art of engine bay cleaning. Whether you’re a car enthusiast or just want to keep your engine in pristine condition, this guide is for you.
Using our expert tips and techniques, you’ll be able to remove dirt, grease, and grime from every nook and cranny of your engine bay. We will walk you through the process, from preparing the engine for cleaning to choosing the right cleaning products and tools. You don't have to worry about damaging the sensitive components of your engine because we have you covered.
With a clean engine bay, not only will your car's performance improve, but it will also make maintenance tasks easier and increase the lifespan of your vehicle. So, let’s dive in and learn how to master the art of engine bay cleaning!
Importance of engine bay cleaning
Maintaining a clean engine bay is crucial for several reasons. First and foremost, a clean engine bay not only looks aesthetically pleasing, but it also allows you to spot any leaks, cracks, or other issues before they become major problems. Additionally, a clean engine bay helps with heat dissipation, preventing your engine from overheating. It also makes routine maintenance tasks, such as changing filters or belts, much easier. Lastly, a clean engine bay can increase the resale value of your vehicle, as it shows potential buyers that you've taken good care of your car.
To start your engine bay cleaning journey, you'll need a few essential tools and materials.
Tools and materials needed for engine bay cleaning
Before you begin cleaning your engine bay, gather the following tools and materials:
1. Gloves: Protect your hands from chemicals and debris.
2. Safety glasses: Shield your eyes from any splashes or debris.
3. Degreaser: Choose a high-quality degreaser that is safe for your engine components.
4. Brushes: Have a variety of brushes in different sizes and stiffness to tackle different areas.
5. Microfiber towels: These are perfect for wiping and drying your engine bay.
6. Plastic bags or cling wrap: Use these to cover sensitive components, such as the air intake or alternator, to prevent water or degreaser from getting inside.
7. Water source: Ensure you have access to a hose or bucket of water for rinsing.
Now that you have everything ready, it's time to prepare your engine bay for cleaning.
Preparing the engine bay for cleaning
Before you start spraying water and degreaser, it's essential to take a few precautions to protect sensitive components. Here's what you need to do:
1. Disconnect the battery: To avoid any electrical mishaps, disconnect the battery by removing the negative terminal.
2. Cover sensitive components: Use plastic bags or cling wrap to cover sensitive components like the air intake, alternator, and fuse box. This step will ensure that no water or degreaser gets inside these areas.
3. Let the engine cool down: It's best to clean your engine bay when it's cool to prevent any potential damage. Wait for at least an hour after driving your car before starting the cleaning process.
With the engine bay prepped and ready, let's move on to the step-by-step cleaning process.
Step 1: Removing loose debris and dirt
Start by using a brush or compressed air to remove loose debris and dirt from your engine bay. Be gentle to avoid damaging any components. Pay close attention to hard-to-reach areas, such as corners and crevices. Remove any leaves, twigs, or other debris that may have accumulated.
Once you've cleared the loose debris, it's time to move on to the next step.
Step 2: Applying degreaser and letting it sit
Apply a generous amount of degreaser to the engine bay, focusing on areas with heavy grease and grime buildup. Use a brush to spread the degreaser evenly, making sure to cover all surfaces. Be careful not to overspray on sensitive components.
After applying the degreaser, allow it to sit for a few minutes. This will give the degreaser time to break down the grease and grime, making it easier to remove.
Step 3: Scrubbing and agitating the engine bay
With the degreaser sitting on the surfaces, it's time to start scrubbing and agitating. Use a brush with medium stiffness to scrub the engine bay, paying extra attention to heavily soiled areas. Work in small sections, ensuring that every nook and cranny gets cleaned.
As you scrub, you'll notice the dirt and grime loosening up. Don't be afraid to apply a bit of pressure, but be cautious around sensitive components. Take your time and be thorough in your cleaning.
Step 4: Rinsing off the degreaser and dirt
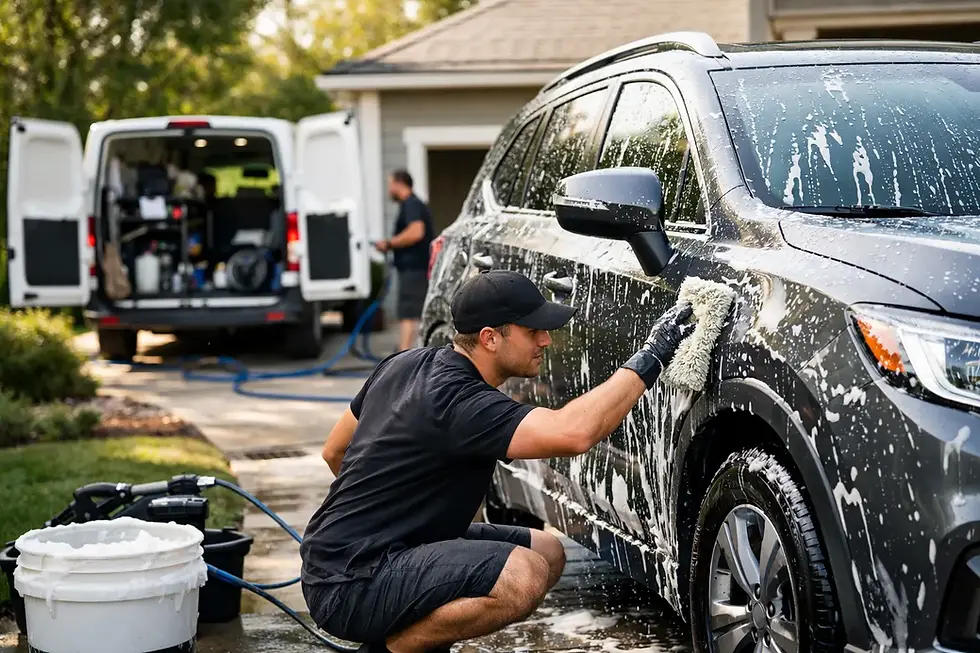
Once you've scrubbed and agitated the engine bay, it's time to rinse off the degreaser and dirt. Use a hose or a bucket of water to rinse the engine bay thoroughly. Start from the top and work your way down, ensuring that all the degreaser and dirt are removed.
Be mindful of the water pressure and avoid spraying directly at sensitive components. Use a gentle stream of water to rinse off the engine bay.
Step 5: Drying the engine bay
After rinsing, it's crucial to dry the engine bay thoroughly to prevent any water spots or potential issues. Use clean microfiber towels to dry the surfaces. Start by blotting any excess water and then gently wipe the engine bay, making sure to reach all areas.
Take your time and be diligent in drying the engine bay. This step is essential to prevent any moisture-related problems.
Step 6: Applying a protective dressing
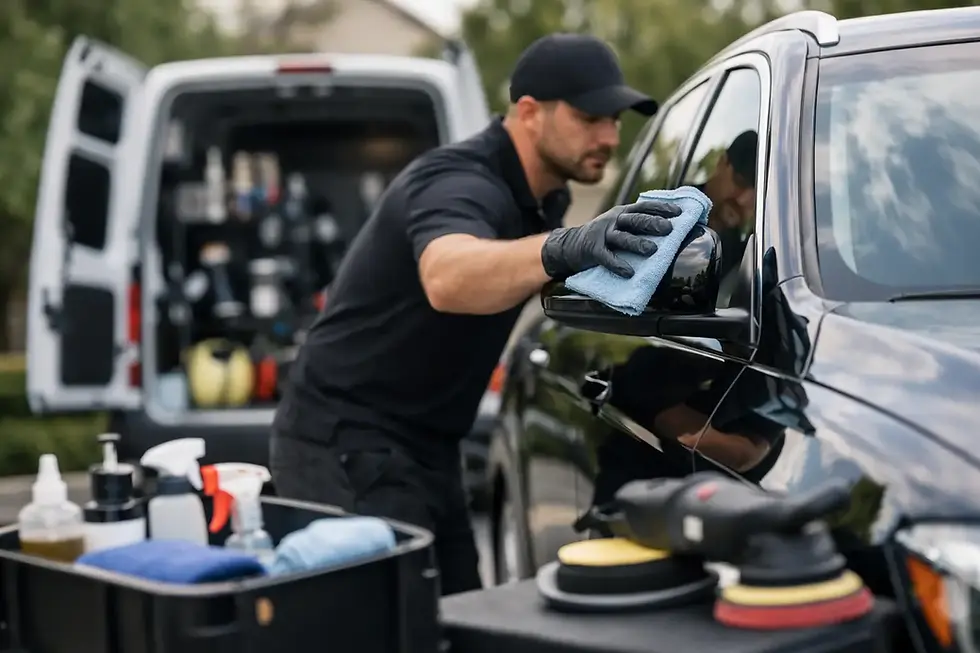
To give your engine bay a finished look and provide protection against dirt and grime buildup, apply a protective dressing. Choose a dressing specifically designed for the engine bay. Apply it using a clean microfiber towel, ensuring an even and thin coat.
Avoid applying the dressing on sensitive components or areas that can become hot during normal engine operation.
Maintaining a clean engine bay
Congratulations! You've successfully mastered the art of engine bay cleaning. To maintain a clean engine bay, it's recommended to clean it every six months or as needed. Regularly inspect your engine bay for any leaks, cracks, or signs of wear. Address any issues promptly to prevent further damage.
Remember to always follow safety precautions and use the right tools and products when cleaning your engine bay. With proper care and maintenance, your engine bay will stay clean and in optimal condition for years to come.
So, what are you waiting for? Grab your gloves, brushes, and degreaser, and embark on your engine bay cleaning journey today!
Now that you have the knowledge and skills, it's time to put them into action. Say goodbye to a dirty engine bay and hello to a sparkling clean one. Happy cleaning!
The above article is a comprehensive guide on mastering the art of engine bay cleaning. It covers the importance of engine bay cleaning, the tools and materials needed, preparing the engine bay for cleaning, step-by-step cleaning process, and maintaining a clean engine bay. By following the instructions outlined in this tutorial, car enthusiasts and everyday drivers alike can achieve a clean and well-maintained engine bay, improving both the performance and lifespan of their vehicle. So, let's get started and make your engine bay shine!

Experience the Difference with Car Detailing Guru: Melbourne's Premier Mobile Car Detailing Specialist. Are you tired of your vehicle looking dull and lackluster? Do you wish you could give it a fresh, showroom-worthy appearance without the hassle of going to a car wash? Look no further than Car Detailing Guru, Melbourne's top mobile car detailing service. With their expertise and passion for perfection, they can revitalize your vehicle and make it look like it just rolled off the assembly line. Car Detailing Guru offers a wide range of services, from thorough exterior washing and waxing to interior deep cleaning and odor removal. Their team of skilled technicians uses the latest techniques and top-of-the-line products to ensure that your vehicle receives the care it deserves. Whether you have a luxury car, a family SUV, or a vintage beauty, Car Detailing Guru has the knowledge and skills to make it shine. Experience the difference in quality and convenience with Melbourne's top mobile car detailing service - Car Detailing Guru. Request A Fee Quote


Comments